

A patio door lock is an essential addition to ensure the ultimate security of your living. But over time, locks can wear out, jam, or misalign, which makes it difficult to secure your door properly.
So, it is important to know how to repair patio door locks, especially when you want to maintain your home’s safety and convenience.
To repair a patio door lock, inspect for damage or debris, tighten loose screws, and lubricate moving parts. Then apply lubricant to the latch and bolt. It offers smooth operation and prevents friction.
At Kingdom Locksmith, we specialize in repairing and replacing patio door locks with precision. Our team of experienced professionals ensures that your lock works flawlessly. It enhances both security and ease of use.
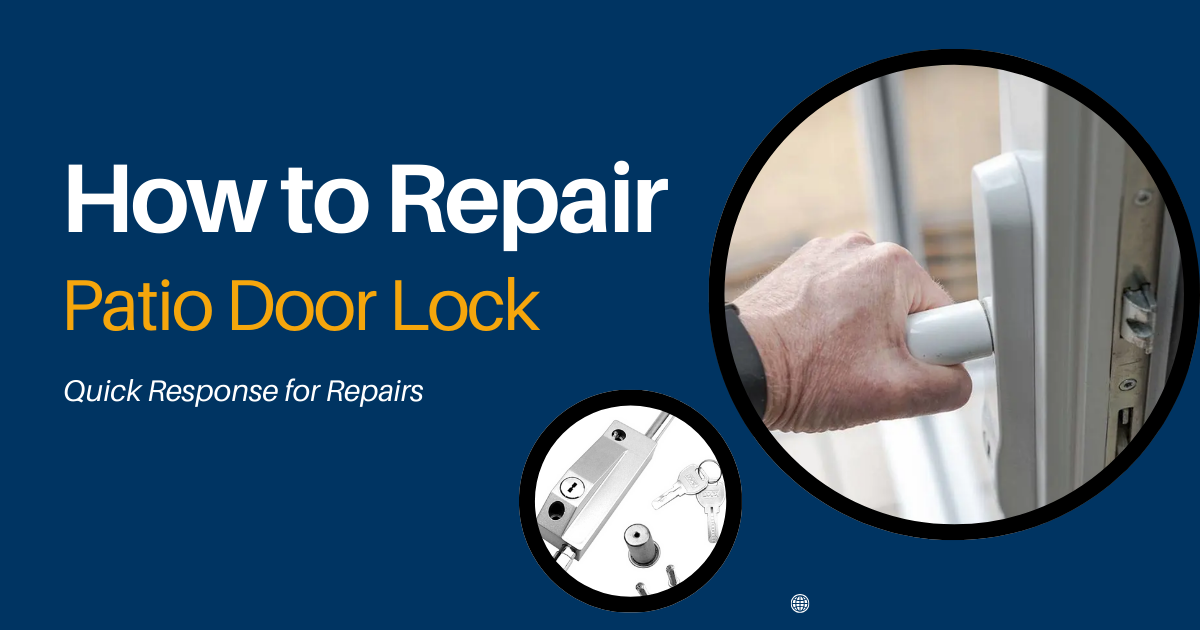
How to Repair Patio Door Lock: Step-by-Step Guide for Easy Fixes
If your patio door lock isn’t working properly, follow this step-by-step guide to fix common issues and restore smooth, secure operation without professional help.
Essential Tools You’ll Need for Patio Door Lock Repair
When repairing a stuck patio door lock, having the right tools is crucial. Here’s a quick list of essential tools you’ll need to get the job done efficiently and with precision.
| Tool | Description |
| Screwdriver | Needed to remove screws holding the lock, handle, and strike plate. A flathead or Phillips screwdriver works, depending on the screw type. |
| Lubricant (WD-40 or Graphite Powder) | Used to loosen up sticky mechanisms, especially inside the keyhole or sliding bolt. Helps smooth operation. |
| Utility Knife | Useful for cutting around caulk or weather stripping without damaging the door or frame. |
| Needle Nose Pliers | Perfect for gripping small parts or adjusting misaligned latch components. |
| Level | Ensures the lock and strike plate are correctly aligned for smooth locking. |
| Replacement Lock Parts | If your lock is worn out, having replacement parts (like a new latch or bolt) is essential for restoring functionality. |
| Tape Measure | Helps measure precise distances for aligning the strike plate and lock components. |
Step 1: Identify the Underlying Issues
Start by carefully inspecting your patio door lock. Look for visible damage, such as rust, cracks, or broken parts, particularly around the latch and bolt. Check if the door is misaligned, as this can prevent the lock from catching.
Dirt or debris may be causing the mechanism to jam. Also, inspect your key for wear or bending as it could be difficult to turn if damaged.
Step 2: Remove the Lock
Now that you’ve identified the underlying issues, it’s time to remove the lock. Start by ensuring the door is fully open and secure.
Use a screwdriver to remove any screws around the handle and the lock mechanism. Be mindful of hidden screws, which are often located along the edges or beneath the handle. Once the screws are removed, gently pull the lock out of its housing.
If the lock is stuck, use a utility knife to cut away any caulk or paint sealing the lock to the door. Keep all screws and small parts for reassembly or potential replacement.
Step 3: Inspect and Clean the Lock
After removing the lock, inspect it thoroughly for wear or damage. Check for rust, debris, or misaligned components that could be causing the issue.
Cleaning the lock is essential to ensure smooth operation. Here’s what to focus on:
- Rust or Corrosion: If you see any rust, use a wire brush or sandpaper to remove it.
- Debris or Dirt: Use compressed air or a small brush to clean the inside of the lock mechanism.
- Moving Parts: Check the latch, bolt, and handle for smooth movement. If stiff, apply lubricant to ease their motion.
- Keyhole: Insert the key several times to ensure it turns smoothly. Clean any buildup inside with graphite powder or lubricant.
By thoroughly inspecting and cleaning the lock, you can eliminate many common issues that cause it to stick.
Step 4: Tighten Loose Hardware
Once the lock is clean and inspected, the next step is to tighten any loose hardware. Over time, screws can loosen due to regular use, causing the lock or handle to misalign. Start by checking all the screws on the lock mechanism, handle, and strike plate.
Use a screwdriver to tighten them, ensuring each part is firmly secured in place. Pay special attention to the strike plate, as even slight misalignment can prevent the lock from functioning properly. If the screws are stripped or damaged, replace them with new ones to ensure a secure fit.
Step 5: Lubricate Moving Parts
Now that the hardware is tightened, it’s time to lubricate the moving parts of the lock. Lubrication is crucial to prevent friction and ensure smooth operation.
Start by applying a small amount of lubricant, such as WD-40 or graphite powder, to the latch, bolt, and keyhole. Make sure to target areas that experience frequent movement, like the pivot points of the handle and the bolt.
Work the lock mechanism by turning the key or operating the handle several times to spread the lubricant evenly.
Step 6: Adjust the Strike Plate
If the latch isn’t catching properly, adjusting the strike plate can solve the issue. Here’s how to make the necessary adjustments:
- Loosen the Screws: Use a screwdriver to slightly loosen the screws holding the strike plate on the door frame. This allows you to move the plate without fully removing it.
- Check Alignment: Close the door and observe the latch position. If the latch doesn’t align with the hole in the strike plate, adjust the plate’s position.
- Move the Plate: Gently nudge the strike plate inward or outward, depending on the misalignment. Ensure that the latch slides smoothly into the hole when the door is closed.
- Test the Lock: Once the strike plate is aligned, test the lock to ensure the latch engages correctly. Close and open the door several times to check for smooth operation.
- Tighten the Screws: Once the strike plate is in the correct position, tighten the screws securely to hold it in place.
Step 7: Replace the Lock If Needed
If your lock still isn’t working after tightening and lubricating, replacing it might be necessary. Over time, locks can become worn out, and parts may be beyond repair.
If you notice broken components, such as a cracked latch or malfunctioning key mechanism, it’s time to replace the lock. Choose a replacement that matches the size and type of the original.
Follow the manufacturer’s instructions for installation, ensuring everything is properly aligned for smooth locking. A new lock will restore security and function to your patio door.
For details on professional service fees, check How Much Does Sliding Glass Door Repair Cost UK.
Common Causes of a Stuck Patio Door Lock
A stuck patio door lock can be frustrating, but understanding the common causes will help you identify and resolve the issue more effectively.
Misalignment of Door and Frame:
Over time, the door may shift due to temperature changes or settling, causing it to become misaligned with the frame. This misalignment can prevent the latch from aligning with the strike plate, resulting in a stuck lock.
Rust and Corrosion:
Patio doors are exposed to the elements, especially if your door lock is outside or near a high-humidity area. Rust and corrosion build-up on the lock mechanism or bolt can prevent smooth movement and cause it to jam.
Debris in the Lock:
Small particles like dirt, dust, or debris can accumulate inside the keyhole, latch, or bolt mechanism. These blockages restrict movement, causing the lock to get stuck.
Worn or Broken Parts:
After years of use, the internal components of the lock, like the latch, bolt, or spring can wear out, break, or lose their effectiveness. If any part of the mechanism is damaged, it can cause the lock to malfunction. Replacing the worn-out parts or the entire lock will restore functionality.
Improper Lock Installation:
If the lock was poorly installed, it might not align properly with the strike plate or the door itself. This can cause the latch to fail to engage properly, resulting in the lock getting stuck.
Signs It’s Time to Replace the Patio Door Lock
Over time, even the most reliable patio door locks can wear out. Recognizing when it’s time for a replacement can save you from future security issues.
- Key No Longer Turns Smoothly: If your key sticks or fails to turn in the lock, internal parts may be damaged or worn out, requiring a replacement.
- Rust or Corrosion: Visible rust or corrosion can compromise the lock’s functionality and security. If cleaning and lubricating don’t fix the problem, it’s time to replace it.
- Broken or Worn Latch: A latch that doesn’t engage properly or gets stuck is a sign of internal damage. This may indicate that the lock mechanism is beyond repair.
- Visible Cracks or Damage: Any cracks or fractures in the lock housing can make it easy to tamper with, posing a security risk.
- Frequent Jamming: If the lock frequently jams despite maintenance, internal components might be severely damaged or misaligned. It makes it a replacement necessary for proper function.
Professional Tips for Preventing Future Patio Door Lock Issues
Maintaining your patio door lock properly can prevent costly repairs down the road. Follow these expert tips to keep your lock functioning smoothly for years.
- Apply a small amount of graphite or silicone lubricant to the lock mechanism every 6 months to prevent rust and ensure smooth operation.
- Periodically check the alignment of the lock and strike plate. Even slight shifts can cause issues.
- Install weatherstripping around the door to prevent moisture from causing rust or corrosion in the lock components.
- Invest in a durable, weather-resistant lock designed for patio doors. Higher-quality locks withstand wear and weather better.
- Routinely test the lock to ensure it’s engaging properly, especially after extreme weather changes or heavy use.
In Closing
Repairing a patio door lock involves identifying issues like misalignment, debris, or wear, followed by tightening screws and lubricating moving parts. Ensuring your patio door lock is functioning properly can prevent further damage and secure your home.
If the problem persists or you prefer professional assistance, Kingdom Locksmith specializes in how to repair patio door lock with precision. Our expert team is ready to provide fast, reliable repairs and replacements. Contact us today for top-notch service and peace of mind!
Frequently Asked Questions
Question: Can I repair my patio door lock myself, or should I hire a professional?
Answer: If the issue is simple, like a misaligned strike plate or a dirty mechanism, you can likely repair it yourself. However, for broken or severely damaged locks, hiring a professional is recommended to ensure proper repair and security.
Question: How do I know when it’s time to replace my patio door lock?
Answer: If the lock frequently jams, shows signs of rust, or no longer operates smoothly, it may be time for a replacement. Damaged or worn-out components can compromise the lock’s security.
Question: What type of lubricant should I use for my patio door lock?
Answer: Graphite powder is best for keyholes, while silicone-based lubricants work well for moving parts like bolts and latches. Avoid oil-based lubricants, as they can attract dirt and debris.
Question: How can I prevent future problems with my patio door lock?
Answer: Regularly lubricate the lock, check for misalignment, and clean the lock to remove debris. Keep the door frame and strike plate properly aligned to avoid future issues.
Question: Can a patio door lock be repaired if it’s completely stuck?
Answer: Yes, a stuck patio door lock can usually be repaired by removing debris, lubricating the mechanism, or adjusting the strike plate. If internal components are damaged, professional repair or replacement may be required.